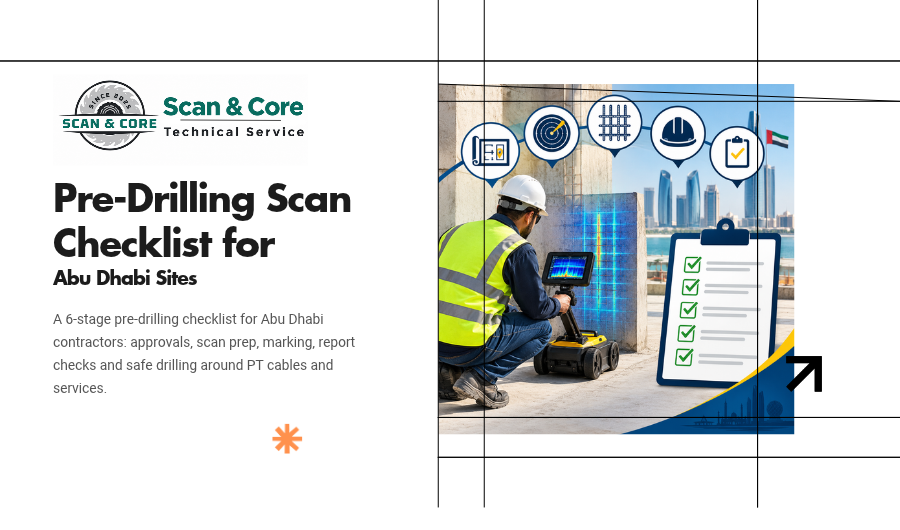
Pre-Drilling Scan Checklist for Abu Dhabi Contractors
Abu Dhabi is busy. In the first quarter of 2026 alone, work start notices rose 14.3% to 3,244 and site inspection requests climbed 24.5% to 34,391, according to the Department of Municipalities and Transport (Abu Dhabi Media Office).
More sites mean more cores, more anchors and more penetrations, and more chances to hit a post-tension cable or live conduit. This checklist takes you from paperwork to the first hole, so nothing gets missed.
Print it, share it with your supervisor, and tick it off on every job.
Stage 1: Paperwork and approvals
☐ Drilling locations confirmed on drawings. Every core, anchor and penetration is marked on an approved drawing with dimensions from fixed gridlines.
☐ Structural drawings collected. Get the slab and wall reinforcement drawings, and PT shop drawings if the slab is post-tensioned.
☐ MEP drawings collected. Embedded conduits and pipes should be shown, though don’t rely on them alone.
☐ Engineer’s approval in hand for any penetration in a structural element. Large openings may need a structural analysis first.
☐ Building or community management NOC obtained. Occupied buildings will also set approved working hours.
☐ Authority permits checked. Structural modifications in Abu Dhabi fall under the Department of Municipalities and Transport. Confirm whether your scope needs a permit before you start.
☐ Method statement and risk assessment prepared. Abu Dhabi’s occupational safety framework, now called ADOSH-SF (formerly OSHAD-SF), expects activity-specific risk controls on construction sites (ADPHC).
☐ Permit to work issued under the site or building’s own system.
Stage 2: Preparing for the scan
☐ Scan areas marked out. Mark each drilling location plus a margin around it, so the crew has room to adjust if the first spot isn’t clear.
☐ Surface cleared. Remove debris, loose items, rebar offcuts and standing water from the scan area.
☐ Floor finishes checked. GPR can scan through many tiles and screeds, but tell the scanning team what’s on top so they can plan for it.
☐ Metal decking identified. If the slab sits on steel deck, GPR won’t see through it. Plan to check the underside.
☐ Access below arranged where needed, for checking soffits or confirming what’s under the slab.
☐ Slab thickness known or requested. Your drilling depth depends on it, and GPR can often measure it from above.
Stage 3: On scan day
☐ Brief the technician. Tell them what you’re drilling, the diameter, the depth and whether the slab may be post-tensioned.
☐ Scan in both directions. Grid scanning in two directions gives a far more reliable picture than single lines.
☐ Markings made directly on the concrete with a clear colour legend.
☐ Clear zones identified for each drilling position.
☐ Photos taken of every marked area, with gridline references visible.
☐ Walk the marks with your crew before the technician leaves, so everyone understands the legend.
Stage 4: Before the first hole
☐ Report received and read. Check the findings, depth range and limitations. Our guide to what a GPR scan report tells you covers what to look for.
☐ Markings still intact. If paint or tape has been cleaned off or damaged, rescan.
☐ Drill position matches the scanned position. If the location has moved, even slightly, it’s outside the scan.
☐ Drilling depth set below slab thickness where the core shouldn’t break through, with a margin for depth tolerance.
☐ Services isolated where possible. Ask the building’s electrical and plumbing teams to isolate nearby circuits and lines.
☐ Any PT doubt escalated. If there’s any uncertainty about a tendon near the drill position, stop and speak to the engineer.
☐ Water and slurry controls ready. Wet vacs, containment and protection for finishes and floors below.
Stage 5: While drilling
☐ Operator watching for unexpected resistance. A sudden change in feel or sound can mean steel.
☐ Stop if steel is hit unexpectedly. Don’t push through. Pull out, check and consult before continuing.
☐ Check the floor below for water leaks or falling debris.
☐ Record each core with its location and depth.
Stage 6: After drilling
☐ Cores and slurry removed and disposed of properly.
☐ Holes protected until pipes or sleeves go in.
☐ Records updated so as-built drawings show every new penetration.
☐ Scan report filed with the project documents for handover.
Why this matters
Scanning alone doesn’t prevent strikes. Problems still happen when a mark gets cleaned off, a core moves 200mm, or nobody reads the report’s limitations. This checklist closes those gaps.
Book your pre-drilling scan
Scan and Core provides GPR concrete scanning and core drilling across Abu Dhabi and Dubai. We scan, mark, report and, if you need it, drill in the same visit.
Contact Scan and Core to schedule a scan, or call +971 56 861 9006.